Sweet Nostalgia: Make Bubble Gum Ice Cream Without a Machine
There are some flavors that instantly transport you back to childhood, and for many, bubble gum ice cream is at the top of that list. With its vibrant hues, whimsical charm, and distinctly sweet taste reminiscent of your favorite chewy treat, it's a dessert that evokes pure joy. Forget the need for a trip to the ice cream parlor or even a bulky ice cream maker; creating this delightful concoction at home is not only achievable but surprisingly simple. Prepare to embark on a sweet journey to homemade bliss, where making bubble gum ice cream without a machine is a reality!
Why Bubble Gum Ice Cream is a Timeless Treat for All Ages
What is it about bubble gum ice cream that captures hearts young and old? Perhaps it's the sheer novelty of finding tiny, colorful gumballs nestled within creamy frozen delight, a playful surprise with every scoop. For adults, it's a powerful mnemonic, stirring up cherished memories of trips to Baskin Robbins with grandparents, post-game treats at TCBY, or simply the carefree days of youth. The flavor itself is a complex symphony of sweet notes, often hinting at banana, cherry, and strawberry, creating a profile that’s uniquely its own – bright, sweet, and utterly irresistible.
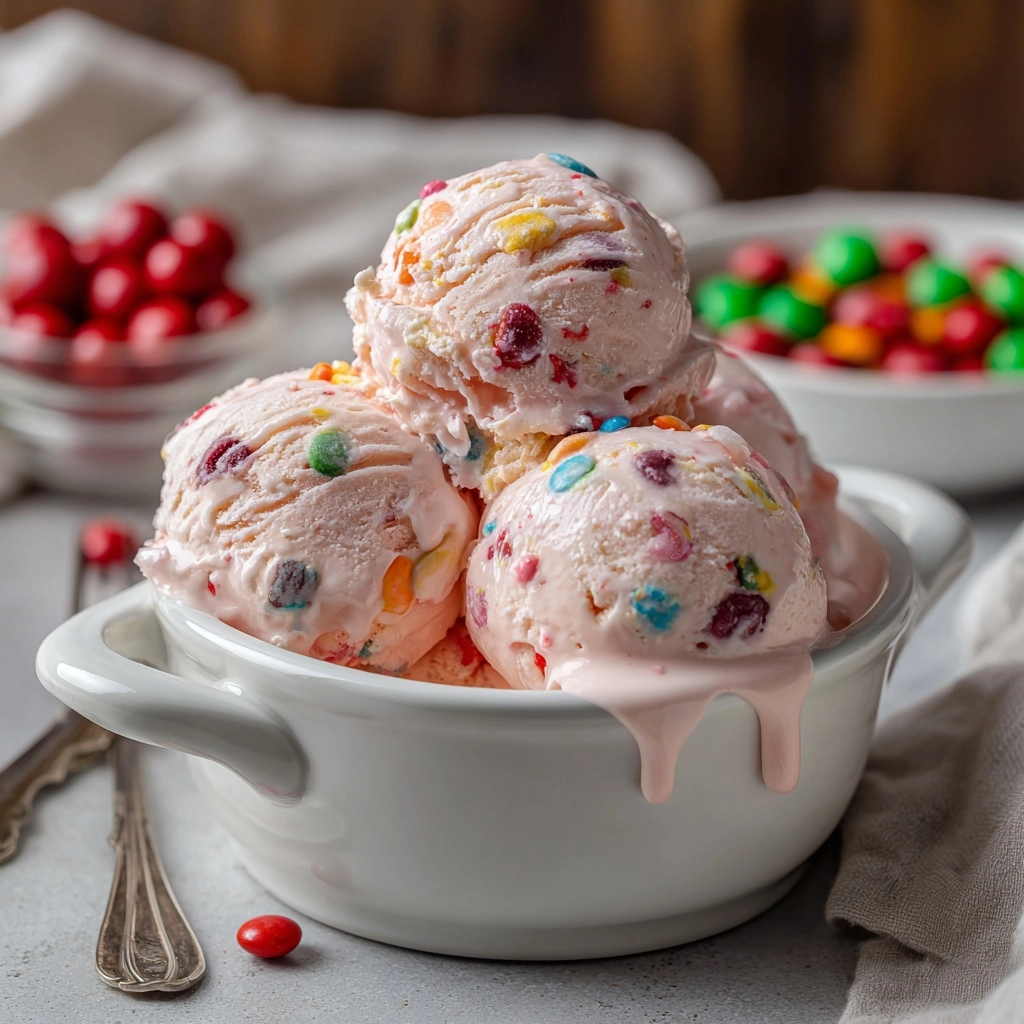
Children, on the other hand, are captivated by its vibrant, often pink or blue, appearance and the exciting promise of a "double treat": delicious ice cream followed by a collection of gumballs. As one delightful anecdote goes, carefully saving every piece of gum until the ice cream was gone was a ritual that made a 6-year-old's world "rock." While the thought of a pile of saved, chewed gum might make an adult cringe today, the sentiment of innocent joy remains. This makes bubble gum ice cream more than just a dessert; it's an experience, a conversation starter, and a beloved classic that bridges generations.
The Magic Behind No-Churn Ice Cream: Simplicity Meets Creaminess
The idea of making homemade ice cream without an expensive, specialized machine might seem daunting, but the no-churn method is a culinary revelation. It democratizes the ice cream-making process, making it accessible to anyone with a mixing bowl, a whisk (or electric mixer), and a freezer. So, what's the secret to achieving that rich, creamy texture without constant churning?
The magic lies in two key ingredients: heavy cream and sweetened condensed milk. Traditional ice cream machines work by continuously churning the mixture as it freezes, which aerates the base and breaks down ice crystals, resulting in a smooth consistency. The no-churn method cleverly bypasses this mechanical process:
- Whipped Heavy Cream: When heavy cream is whipped to stiff peaks, it incorporates a significant amount of air, creating a light, airy base. This aeration is crucial for preventing the ice cream from becoming dense and icy. The fat content in the heavy cream also contributes significantly to the overall smoothness and richness.
- Sweetened Condensed Milk: This thick, sugary milk serves multiple purposes. Its high sugar content not only provides the necessary sweetness but also acts as an anti-freezing agent. Sugar lowers the freezing point of water, which helps to inhibit the formation of large, hard ice crystals, resulting in a softer, scoopable texture. It also adds incredible creaminess and body to the ice cream base.
When these two components are gently folded together, along with flavorings and color, you get a stable, airy mixture that freezes beautifully into a luxurious, soft-serve-like consistency. This ingenious approach eliminates the need for any complex equipment or continuous stirring, transforming ice cream making into a quick and enjoyable kitchen project.
Crafting Your Own Sweet Nostalgia: A Step-by-Step Guide to No-Churn Bubble Gum Ice Cream
Ready to whip up a batch of this enchanting dessert? Here's how to create your own homemade Easy No-Churn Bubble Gum Ice Cream: Homemade Fun! without any special machinery.
Essential Ingredients:
- Heavy Cream (or Whipping Cream): Chilled and at least 35% milk fat for optimal whipping.
- Sweetened Condensed Milk: One can, providing the sweetness and creamy texture.
- Bubble Gum Extract: This is key to achieving that authentic bubble gum flavor. A good quality extract will make all the difference.
- Vanilla Extract: A touch of vanilla complements the bubble gum flavor beautifully.
- Pink Food Coloring: For that iconic bubblegum pink hue. Gel food coloring provides vibrant color without diluting the mixture.
- Gumballs: Small, colorful gumballs are traditional. Consider smaller varieties or even edible candy pieces that resemble gumballs if you prefer to avoid actual chewing gum in the final product.
The Simple Steps:
- Whip the Cream: In a large, chilled mixing bowl, pour the cold heavy cream. Using an electric mixer (handheld or stand mixer with a whisk attachment), beat the cream on medium-high speed until it forms stiff peaks. This means when you lift the whisk, the cream holds its shape firmly. Be careful not to overmix, or it will turn grainy.
- Fold in Sweetened Condensed Milk: Gently pour the sweetened condensed milk into the whipped cream. Using a spatula, fold it in carefully until just combined. The goal is to maintain as much of the air in the whipped cream as possible.
- Add Flavor and Color: Stir in the bubble gum extract, vanilla extract, and a few drops of pink food coloring. Start with a small amount of food coloring and add more until you achieve your desired shade of pink. Mix gently until the color and flavors are evenly distributed.
- Incorporate Gumballs: Now for the fun part! Gently fold in your chosen gumballs. For a classic experience, you can mix them directly into the ice cream. However, a helpful tip for those who prefer not to chew gum while eating ice cream is to layer them: add half the ice cream mixture to your freezer-safe container, sprinkle with gumballs, then add the remaining ice cream and top with more gumballs. This ensures a delightful visual without overwhelming every bite with chewable gum.
- Freeze to Perfection: Transfer the mixture into a freezer-safe container (a loaf pan, an airtight container, or even a springform pan works well). Cover tightly with plastic wrap or a lid to prevent ice crystals from forming on the surface. Freeze for at least 4-6 hours, or preferably overnight, until firm.
And just like that, you've created a batch of delicious, homemade bubble gum ice cream, ready to scoop and enjoy!
Elevating Your Bubble Gum Ice Cream Experience
Once your homemade bubble gum ice cream is perfectly frozen, the fun doesn't stop there. Here are some ideas to make serving it even more special:
- Classic Cones and Cups: Serve scoops in traditional waffle or sugar cones for that authentic ice cream parlor feel, or simply in bowls with a spoon.
- Topping Extravaganza: Go wild with toppings! A sprinkle of extra gumballs (especially if you opted not to mix them in), rainbow sprinkles, whipped cream, a drizzle of strawberry or cherry syrup, or even mini chocolate chips can add extra flair and flavor.
- Party Perfect: This ice cream is a guaranteed hit at any gathering, from birthday bashes to summer BBQs. It’s a wonderful, vibrant centerpiece that kids and adults alike will flock to. For more ideas on themed treats, check out Summer Classic: Simple Bubble Gum Ice Cream for Kids & Parties.
- Dessert Pairings: Serve it alongside a slice of birthday cake, brownies, or warm cookies for an unforgettable dessert duo. The creamy, sweet ice cream perfectly complements baked goods.
- Ice Cream Floats: For an extra dose of whimsy, place a scoop or two in a glass and top with a clear, fizzy soda like lemon-lime or cream soda. The bubbles will amplify the bubble gum flavor!
Don't be afraid to experiment! You could try different food coloring combinations for multi-colored bubble gum ice cream, or even swirl in a different flavored extract for a unique twist. The beauty of homemade, no-churn ice cream is its versatility and the endless possibilities for customization.
Conclusion
Making bubble gum ice cream without a machine is more than just a recipe; it's an invitation to relive cherished childhood memories and create new ones. This incredibly easy, no-churn method delivers a creamy, sweet, and vibrantly colorful dessert that's perfect for any occasion. So, gather your simple ingredients, embrace the nostalgia, and prepare to delight your taste buds with a scoop of pure, homemade bliss. Enjoy the sweet journey!
