Easy No-Churn Bubble Gum Ice Cream: A Homemade Fun-Filled Treat!
There’s something undeniably magical about bubble gum ice cream. It's a vibrant, whimsical treat that instantly transports you back to carefree childhood days, filled with playground laughter and sticky, sweet delights. But what if we told you that creating this beloved classic, bursting with bright colors and that distinctive flavor, is not only possible at home but also incredibly simple? Forget cumbersome ice cream makers or long churning processes! Our guide to easy no-churn bubble gum ice cream is here to unleash homemade fun right in your kitchen, making it a perfect project for a sunny afternoon or a celebratory dessert. This delightful recipe is poised to become an instant family favorite, especially among the younger crowd. Its sweet, creamy texture, coupled with the playful pop of color and the unmistakable taste of bubble gum, makes every scoop an adventure. Whether you're planning a summer BBQ, a birthday bash, or simply craving a taste of nostalgia, this no-churn method simplifies the entire process, promising a perfectly smooth, dreamy frozen dessert without any specialized equipment. Get ready to dive into a world of vibrant flavors and joyful memories!Unlocking the Whimsy: What Makes Bubble Gum Ice Cream So Special?
Bubble gum ice cream isn't just an ice cream flavor; it's an experience. Its appeal lies in a unique blend of vibrant aesthetics and a distinctly playful taste profile. Think bright pink hues, often speckled with colorful gumballs, immediately evoking a sense of fun and retro charm. But it's the flavor itself that truly captures hearts. While its name suggests a singular taste, many aficionados describe notes of sweet fruitiness—hints of banana, cherry, and strawberry—all harmonizing to create that signature, nostalgic bubble gum essence. For many, this particular flavor is deeply intertwined with childhood memories. Perhaps it was that special scoop after a little league game, a reward for good grades, or a treat enjoyed with a beloved grandparent. The act of carefully picking out each tiny gumball, saving them for a final, chewy reward, is a cherished memory for countless individuals. This inherent nostalgia makes homemade bubble gum ice cream a bridge between generations, offering adults a sweet trip down memory lane while creating new, joyful moments for kids today. It’s a unique ice cream that doesn't take itself too seriously, prioritizing pure, unadulterated fun and sweetness in every bite.The Magic of No-Churn: How Homemade Ice Cream Became Easy
The idea of making ice cream at home often conjures images of specialized machines, rock salt, and laborious churning. However, the revolutionary no-churn method has completely demystified homemade ice cream, making it accessible to anyone with a freezer and a whisk. This brilliant technique eliminates the need for any fancy equipment, relying instead on a clever combination of readily available ingredients to achieve that coveted creamy, smooth texture. At its core, no-churn ice cream harnesses the power of two main ingredients: heavy cream and sweetened condensed milk. Unlike traditional ice cream, which uses an ice cream maker to continuously churn and aerate the mixture as it freezes, the no-churn approach achieves its creamy consistency in a simpler way. First, heavy cream is whipped to stiff peaks, incorporating a significant amount of air. This aeration is crucial, as it prevents the ice cream from becoming a solid block of ice crystals and instead gives it a light, fluffy body. Next, sweetened condensed milk is folded into the whipped cream. This ingredient serves multiple purposes: it provides sweetness, adds richness, and crucially, its low water content and high sugar concentration help to lower the freezing point of the mixture. This results in a softer, more scoopable texture straight from the freezer, mimicking the delightful consistency of soft-serve. The beauty of this method lies in its simplicity – just whip, fold, flavor, and freeze. For a deeper dive into this amazing technique, check out our article on Sweet Nostalgia: Make Bubble Gum Ice Cream Without a Machine.Crafting Your Homemade Bubble Gum Dream: Ingredients & Tools
One of the most appealing aspects of this easy bubble gum ice cream recipe is its minimal ingredient list and basic kitchen tools. You likely have most of what you need already!Essential Ingredients:
- Heavy Whipping Cream (Cold): This is the foundation of your no-churn ice cream. Ensure it’s very cold to achieve optimal whipping volume and stability.
- Sweetened Condensed Milk: Provides the perfect level of sweetness and creaminess, essential for the no-churn method. Do not confuse this with evaporated milk!
- Bubble Gum Extract: This is where the magic truly happens! A good quality extract will deliver that authentic bubble gum flavor. You can often find this in baking supply stores or online.
- Vanilla Extract: A touch of vanilla complements the bubble gum flavor and adds depth.
- Pink Food Coloring (Gel or Liquid): To achieve that iconic, vibrant pink hue that makes bubble gum ice cream so visually appealing. Gel colors offer a more intense shade with less liquid.
- Small Gumballs (Optional, but Recommended!): For that classic look and fun texture. Choose small, chewy gumballs that won’t freeze too hard. You can stir them in or sprinkle them on top.
Basic Tools:
- Large Mixing Bowl: Preferably chilled beforehand, to help the cream whip faster and maintain its volume.
- Electric Mixer (Handheld or Stand Mixer): Absolutely key for whipping the heavy cream to stiff peaks efficiently. A whisk can work, but prepare for an arm workout!
- Rubber Spatula: For gently folding ingredients together.
- Loaf Pan or Freezer-Safe Container: For freezing your ice cream. A 9x5-inch loaf pan is ideal.
- Plastic Wrap or Lid: To cover the ice cream while it freezes.
Step-by-Step Guide to Your Delicious No-Churn Bubble Gum Ice Cream
Creating your own batch of no-churn bubble gum ice cream is a straightforward and rewarding process. Follow these simple steps for a truly delightful treat:Step 1: Chill Your Equipment
For the best results when whipping cream, place your large mixing bowl and electric mixer beaters in the freezer for about 10-15 minutes. This helps the cream whip up faster and hold its shape better.
Step 2: Whip the Heavy Cream
Pour the cold heavy cream into your chilled bowl. Using an electric mixer on medium-high speed, whip the cream until it forms stiff peaks. This means when you lift the beaters, the peaks stand up firmly and don't collapse. Be careful not to over-whip, as it can turn granular.
Step 3: Combine Sweetened Condensed Milk and Flavorings
In a separate medium bowl, combine the sweetened condensed milk, bubble gum extract, and vanilla extract. Stir well until all ingredients are thoroughly mixed and fragrant. This is where you infuse that distinctive Summer Classic: Simple Bubble Gum Ice Cream for Kids & Parties flavor profile!
Step 4: Add the Color
Now, add your pink food coloring to the sweetened condensed milk mixture. Start with a few drops and gradually add more until you achieve your desired vibrant pink hue. Remember, a little gel coloring goes a long way!
Step 5: Gently Fold Together
Pour the flavored sweetened condensed milk mixture into the whipped cream. Using a rubber spatula, gently fold the two mixtures together until just combined. Be careful not to deflate the whipped cream, as this air is crucial for the creamy texture of your homemade bubble gum ice cream.
Step 6: Incorporate Gumballs (Optional)
If you're adding gumballs, gently fold them into the ice cream mixture now. Some prefer to add them after the ice cream is partially frozen or just sprinkle them on top before the final freeze for better texture preservation. If stirring them in, remember they will soften slightly in the freezer, but many enjoy this aspect!
Step 7: Freeze for Perfection
Transfer the mixture into your loaf pan or freezer-safe container. Smooth the top with your spatula. Cover the container tightly with plastic wrap (pressing it directly onto the surface helps prevent ice crystals) or a lid. Place in the freezer for at least 6-8 hours, or preferably overnight, until firm.
Beyond the Scoop: Serving Suggestions & Creative Twists
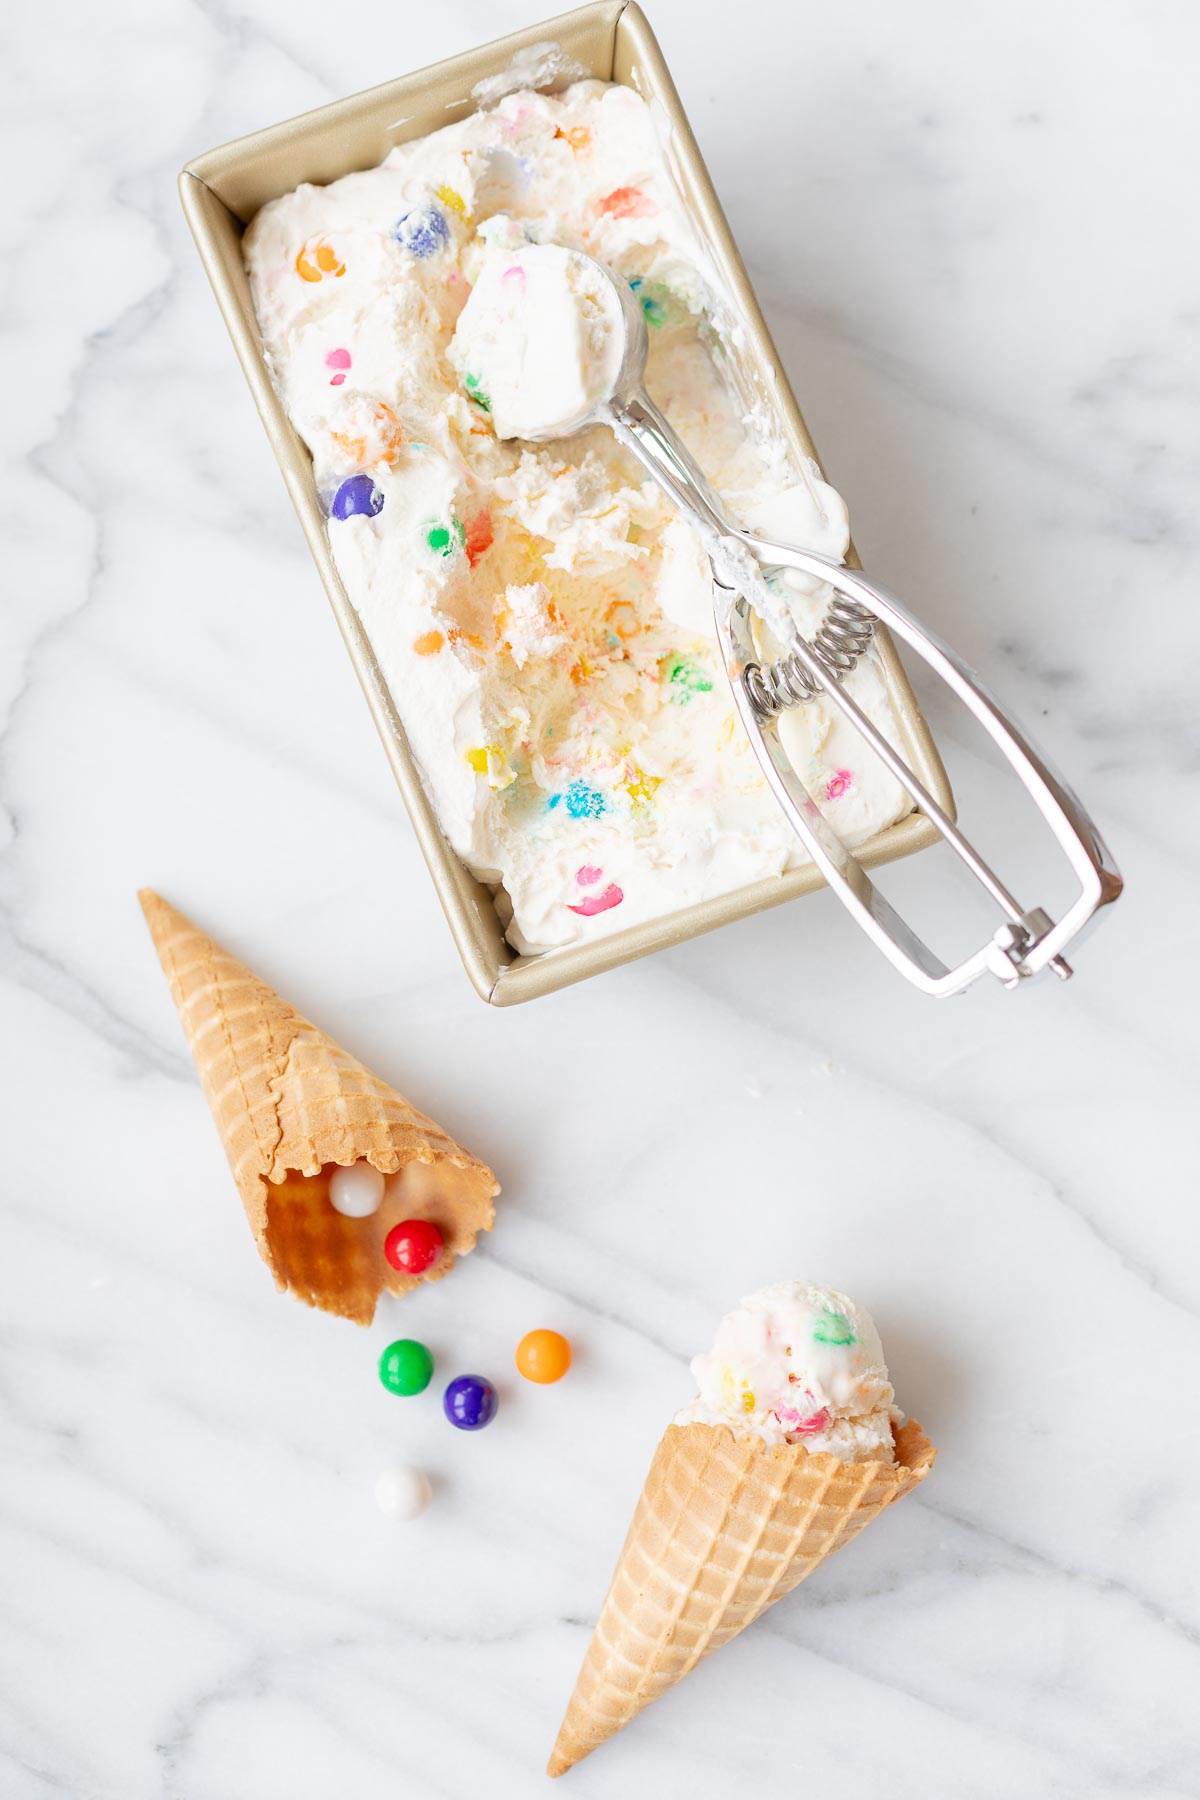
Once your glorious batch of easy no-churn bubble gum ice cream is perfectly frozen, the fun doesn't stop there! There are countless ways to enjoy and serve this delightful treat: * Classic Cones: Nothing beats a scoop or two in a crispy waffle or sugar cone. It’s the quintessential way to enjoy ice cream and truly brings out the nostalgia. * Party Perfect: Serve it in individual bowls, topped with extra gumballs, rainbow sprinkles, or a dollop of whipped cream. It's a fantastic dessert for birthday parties or summer gatherings, guaranteed to bring smiles to every face. * Dessert Companion: Pair your bubble gum ice cream with other sweet treats. It's surprisingly delicious alongside vanilla or chocolate birthday cake, or even with some simple shortbread cookies for a fun textural contrast. * Milkshakes & Floats: Blend a scoop with milk for a vibrant pink milkshake, or add a scoop to a glass of lemon-lime soda for a playful float. * Sundae Bar: Set up a mini sundae bar with your bubble gum ice cream as the star. Offer various toppings like hot fudge, caramel, more gumballs, gummy candies, and whipped cream for a truly customized experience.Tips for the Perfect Batch Every Time:
- Don't Rush the Freeze: Patience is key! Allow ample time for the ice cream to freeze solid for the best consistency.
- Airtight Storage: Always cover your ice cream tightly to prevent freezer burn and ice crystal formation.
- Quality Extracts: Investing in a good quality bubble gum extract makes all the difference in achieving that authentic flavor.
- Taste Test: Before folding, taste your sweetened condensed milk mixture to adjust the flavor intensity. You might want a little more bubble gum extract depending on your preference.
